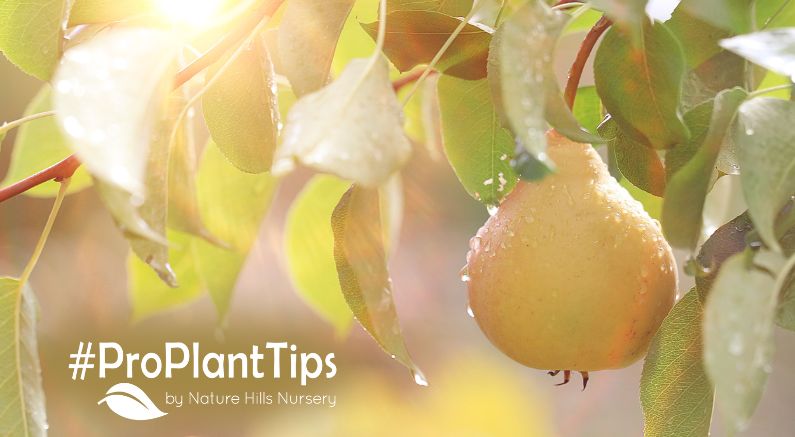
Want juicy, sweet, homegrown Pears by the basketful? Planting and caring for Pear trees the right way ensures not only healthy growth but also heavier harvests.
From choosing the best planting spot to finding the right pollinator to knowing how and when to prune, we've got everything you need to grow Pear trees that produce more fruit—season after season!
All About Pear Trees
Pears (Pyrus spp.) are part of the Rosaceae family, making them close relatives to Apples, Quinces, Roses, and even Strawberries! Pears have been cultivated for over 3,000 years, originally native to regions across Europe, North Africa, and Asia. Over time, these sweet, juicy fruits have become beloved garden staples all across the globe.
There are two main types of Pears grown in home orchards:
- European Pears (Pyrus communis) – Think classic varieties like Bartlett and Bosc.
- Asian Pears (Pyrus pyrifolia) – Crisp, round, and sometimes called “Apple Pears.”
A happy Pear tree can live up to 100 years and produce fruit for most of that time! These trees are known for their beautiful spring blossoms, glossy green leaves, and upright, elegant form. They make wonderful dual-purpose trees—both ornamental and productive!
All they need is a location in full sun, well-drained soil, and moderate, consistent moisture to thrive.
Pear trees are generally fast-growing and usually begin to bear fruit within 3 to 5 years after planting. Choose the largest container size we have in stock—these are older trees and give you a jump start on the harvest.
Step-by-Step Guide: How to Plant a Pear Tree
Planting a fruit tree begins a legacy of healthy eating, backyard beauty, and self-sustainability!
-
Choose the Right Spot
Pick a sunny location with at least 6–8 hours of direct sunlight daily. Make sure the soil drains well—Pear trees don't like wet feet! -
Dig the Hole
Dig a hole twice as wide as the root ball and as deep as the tree's container. -
Prepare the Soil
Loosen the native soil at the bottom and mix in compost if needed to enrich and lighten the soil. -
Remove the Tree & Place in Hole
Carefully remove the tree from its container. Tease apart any circling roots and place it in the hole with the top of the root ball level with the soil surface. -
Backfill & Water In
Refill the hole with soil, pressing it in gently to remove air pockets. Water deeply to help settle the soil around the roots. -
Mulch & Maintain
Apply a 3–4 inch layer of mulch around the base of the tree (keeping it a few inches away from the trunk) to retain moisture and reduce weeds. -
Stake if Needed
If you're in a windy area or planting a tall young tree, staking will help the tree establish upright growth.
Pear Tree Pollination: Quick Reference

Pollination Partners
While you'll find a variety of self-pollinating Pear trees, a pollination partner that blooms at the same time gives you the largest harvests.
Matching Types For Best Pollination
Choose two European Pears or two Asian Pears.
Asian Pears bloom earlier in spring than European types.
Asian Pear Pollination Needs
All Asian Pear cultivars are self-incompatible—you need to plant another Asian Pear cultivar nearby to produce more fruit.
European Pear Pollination Tips
Some European varieties, like Bartlett Pears, are partially self-pollinating.
In parts of California, they may be fully self-fertile, but planting another compatible Bartlett hybrid nearby will boost fruit production for both trees.
Cross-Pollination Limits
European Pears and Asian Pears usually won't cross-pollinate unless you happen to have a late-blooming Asian cultivar and an early-blooming European Pear tree.
Pruning Pear Trees For More Fruit
Like Apples, Pears are usually sold as grafted trees and require similar pruning and training.
Summer Pruning (After Bloom)
- For size control and removing water growth, prune in summer after your blooms are done.
- Many varieties, including Asian Pears, can grow very large.
- Thin during the growing season to keep one fruit per fruiting spur. Read our Garden Blog about How to Thin Fruit plus a great video tutorial!
Dormant Season Pruning (Late Winter/Early Spring)
- Remove suckers, dead, diseased, or crossing limbs.
- Open up the canopy to allow airflow and sunlight to reach the interior.
- Prune while the tree is completely dormant and leafless—this also makes it easier to see the branching structure.
- This is the best time to prune your tree for size and shape. Allowing small yards to enjoy big harvests without losing out on space.
Espalier and High-Density Plantings
- Pears can be grown in high-density plantings for smaller spaces.
- Train trees into a flat-growing, space-saving, and high-end looking Espalier form!
Final Tips For A Fruitful Future
- Water consistently, especially in dry spells, to prevent fruit drop.
- Use mulch to conserve moisture and regulate soil temperature.
- Fertilize in early spring with a balanced fruit tree fertilizer.
- Keep the area around the tree clear of weeds and grass to reduce competition.
Enjoying the Fruits of Your Labor

Growing Pear trees isn't just about fruit—it's about planting legacy trees that offer beauty, shade, blossoms, and delicious rewards year after year. Whether you're starting with a single tree in your backyard or planning a full home orchard, planting with purpose and caring consistently will give you healthy, productive Pear trees for generations.
Not only do they look stunning in bloom, but they'll feed your family, attract pollinators, and bring joy from the first bud to the last bite.
And remember, we're always here to help you find the perfect Pear tree for your space, pollination partner, or pruning strategy. Be sure to explore our full collection of premium Pear trees at Nature Hills Nursery.
Learn when your Pears are ripe and how to use your harvest in our Garden Blog Here!
Happy Planting!


